Two minute card

Actually, if you laid everything out in advance you could probably do it in one minute. But I’m rarely that organised!

So here’s what I did:

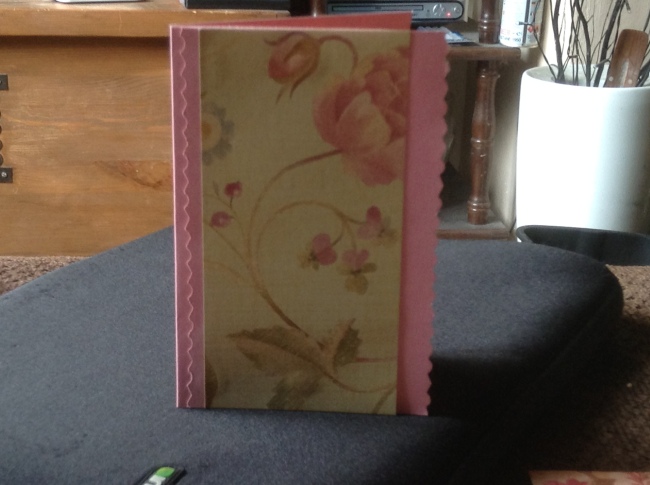
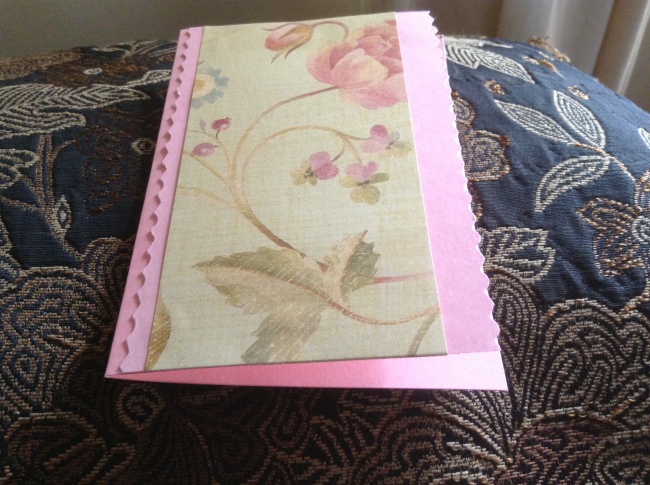
Take a preformed card blank. Take a piece of fancy card from my stash. Grab my wavy pattern scissors (mine came from Dunelm Mill and were very reasonably priced). Cut a long strip off the edge of the card (that would be the front), retaining the cutting. Whack sticky dots on the fancy card’s four corners, stick the cut strip to the left hand edge of the fancy card and then stick to the card blank. If necessary trim the top on a cutter. Et voila.

You can add a ribbon loop to sit in the fold, or I sometimes use a metallic embroidery thread as I have a stash of them and don’t like sewing with them. Or sometimes I’ll use a tiny peg and clip a corresponding smaller square, or a bow or sometimes a fancy button.

But the pattern was busy enough that anything else seemed too fussy and I wanted a simple clean look, plus I was in a total rush to do it at 5.30am before I left for work! And it really did just take two minutes.

Image

I’m a bit rubbish at remembering people’s birthdays etc, and invariably end up buying a card from the poor selection in the canteen at my work. It took less time to make this card than it would to walk to the other side of the campus where the canteen is and buy one.
Image

Shrug it off

I know….it’s been so long. But I barely have time to live when we hit production, let alone do anything nice that I would want to blog about. And even if I had the time to do anything, I then wouldn’t have the time to talk about it!

But I’m making up for lost time now, as this is the first weekend in about 6 weeks where I haven’t brought work of some kind home to do. And I have done some bits and pieces, so let’s play catch up.

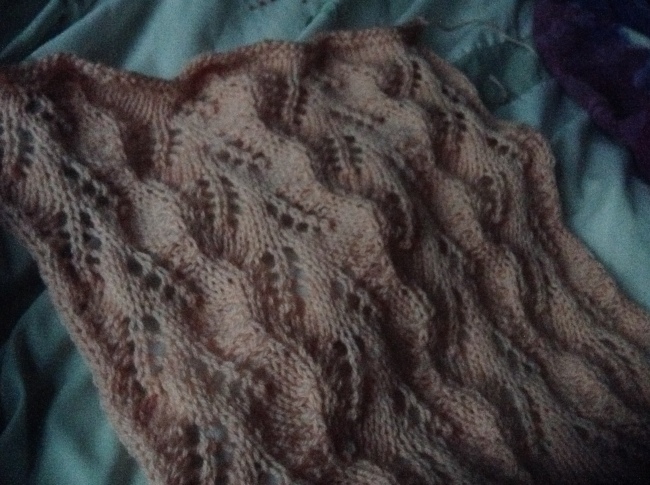
I while back, I began work on what would ultimately be my mum’s birthday present. Being the star that she is, my mum always treasures anything you make her, because she knows the time it takes is far greater than just buying something, especially when spare time is definitely in short supply in my house. Plus I wanted to give her back something with the wool she’d given me.

I was thinking pretty, but not fussy; practical but special and while perusing the amazing http://www.ravelery.com I found the perfect item, courtesy of http://www.ravelry.com/designers/mia-heikkinen – a shrug.

Using my lovely new bamboo needles and a few pattern tweeks it knitted up fairly quick. Now, I have a confession to make. I took pictures of the blocking stage….and I have absolutely no idea where they are!! And I was so pleased with myself for remembering to do it so I could show you them! Ah well. As it was knitted in one long rectangle you can imagine it was a bit of a handful, so I decided on blocking it outside, on the one semi dry day we had mid June.

There’s a wooden picnic table in my garden so I laid some plastic liners on it and then pinned it straight onto the table and let nature do her thing. It was worth the pin-prick fingertips, as it worked really well and yes, it was so much easier to sew the sides up afterwards!

Miraculously it was done in time and sent the 360 miles back home and she loved it. I’ve yet to see photographic evidence that she wears it, but she said she does (though she said she put it on early one morning to read while having a cup of tea in bed, but felt it was too pretty to wear in bed….I’m trying to convince her she no longer needs to keep things “for a special occasion”, but its a long road). So if my relatives who read this can get a snap at some point, that would be great! But anyway, this sums up the pretty quite well.

Image

I love patterns that come out looking more complicated than they are! I’m tempted to do this again for me this time, as the temperatures have risen bought the air con at work is drafty! But then I keep seeing more patterns that are so beautiful I itch to try them and it seems a shame to repeat something when there is so much new out there to try. Decisions, decisions….